
TL;DR:
- A consistent, standardized workflow from inquiry to post-event follow-up is essential for growing a catering business. Starting planning at least six weeks out and locking the final headcount three days prior helps ensure smooth operations. Proper temperature monitoring and timely client follow-up contribute to safety, satisfaction, and repeat business.
A successful catering event runs on a clear, repeatable workflow. Whether you're managing a 30-person corporate lunch or a 200-guest wedding reception, the step by step catering process follows the same core sequence: client inquiry, menu planning, vendor coordination, logistics, event-day execution, and post-event follow-up. Nail each stage consistently, and you build the kind of reputation that fills your calendar.
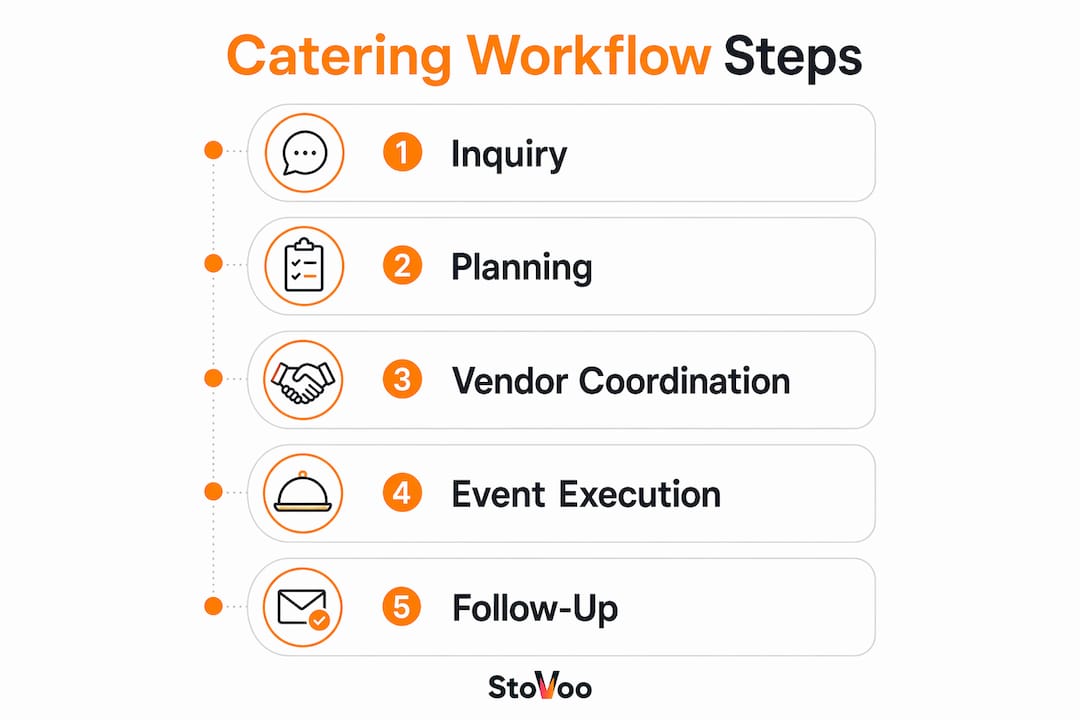
Here's the full workflow at a glance:
- Stage 1: Client inquiry and needs assessment
- Stage 2: Menu planning and dietary customization
- Stage 3: Vendor coordination and timeline creation
- Stage 4: Pre-event logistics and staffing
- Stage 5: Event-day setup and food service
- Stage 6: Food safety monitoring and documentation
- Stage 7: Post-event cleanup, follow-up, and feedback
How do you handle client inquiries and plan the right menu?
The inquiry stage sets the tone for everything that follows. When a lead comes in, collect the essentials immediately: event date, guest count, venue location, event type, dietary restrictions, and budget range. A standardized intake form prevents the back-and-forth that kills momentum and creates documentation you can reference later.
Budget range matters more than a fixed number. Most clients don't know what they want to spend until they understand what's possible, so asking for a range gives you flexibility to propose options that actually fit. Once you have that range, you can build a menu that works within it rather than guessing.
Speed closes bookings. 78% of catering leads book with the first responder, so an automated reply within 15 minutes of inquiry submission is worth setting up. For phone inquiries, follow up with a written email within two hours to document what was discussed.
Pro Tip: Always add a small buffer to your final headcount estimate. Last-minute additions are nearly universal, and running short on food is the one mistake clients never forget.
When building the menu, account for the nine major allergens (milk, eggs, fish, shellfish, tree nuts, peanuts, wheat, soybeans, and sesame), event theme, service format (buffet, plated, or stations), and any cultural or dietary preferences. A well-structured catering menu planning process considers all of these before a single dish is confirmed. Collect dietary details on the RSVP form so you're not scrambling the week before.
Key information to gather at inquiry:
- Event type and formality level
- Confirmed and estimated guest count
- Venue details (indoor, outdoor, kitchen access)
- Service style preference
- Dietary restrictions and allergen needs
- Budget range and payment terms
What does a solid vendor coordination timeline look like?
The key to scaling a catering business is moving away from bespoke planning toward a standardized operational playbook, and the pre-event timeline is its backbone. Start six weeks out and work forward with clear ownership at each checkpoint.

Sending the same brief to every vendor in the same format eliminates days of back-and-forth. A standardized vendor brief turns proposal comparison into a quick exercise rather than a multi-day email chain. Include event basics, headcount range, service format, menu constraints, budget ceiling, and day-of contact details in every brief you send.
| Timeframe | Key Tasks | Owner |
|---|---|---|
| T-6 weeks | Lock date, venue, headcount range, and budget. Draft vendor brief. | Event owner |
| T-5 weeks | Send brief to 3–5 vendors. Schedule tastings or calls. | Event owner |
| T-4 weeks | Compare proposals. Select primary and contingency vendors. Sign contracts. | Event owner + finance |
| T-3 weeks | Finalize menu, equipment list, and rental confirmations. | Event owner |
| T-2 weeks | Close RSVP window. Confirm dietary needs and staffing levels. | Event owner |
| T-1 week | Send final headcount. Share run-of-show with caterer. Venue walkthrough. | Event owner + caterer |
| T-72 hours | Lock headcount. Reconfirm delivery window and access details. | Event owner |
| T-24 hours | Walk the run-of-show one final time. Confirm all non-catering rentals. | Event owner |
For outdoor events, build a weather contingency into the T-48 hour checkpoint. Confirm a backup plan if forecast shows rain or temperatures outside a comfortable range. Written confirmations at every stage protect you from the "you said you could do X" disputes that surface at the worst possible time. For a deeper look at catering operations and how to build reusable playbooks, the principles apply across event sizes.
How do you execute on event day and follow up effectively?
Arrive at the venue at least 90 minutes before the first guest interaction. Use the first 30 minutes for a full walkthrough: confirm table setup, test equipment, verify kitchen access, and check that handwash stations are stocked and accessible. Assign clear roles before anyone starts working, with a kitchen lead managing food prep and a service lead managing the floor.
Food safety runs on temperature and documentation. Hot-held foods in chafing dishes must stay at or above 135°F, and cold items must hold at or below 41°F. Probe and record temperatures at least every 30 minutes during service. These logs aren't just good practice; they're your compliance record if a health inspection or liability claim ever comes up. Complete event documentation including temperature logs, checklists, and corrective action notes should be compiled and filed after every event.
Pro Tip: Pre-arrange a backup with a local restaurant or secondary vendor before event day. If you underestimate appetite or a primary vendor cancels, you need a solution you can trigger in under an hour, not one you're scrambling to find mid-service.
Post-event steps to complete within 24 hours:
- Send a personalized thank-you email referencing specific event highlights and including photos
- Request feedback with a simple reply-based question
- Reconcile final headcount for billing
- File all temperature logs and checklists as your compliance record
- Note any equipment damage or supply shortages
Managing dietary restrictions at corporate events and other gatherings gets easier when you build allergen labeling and cross-contamination protocols into your standard post-event review, updating your playbook each time.
How does Stovoo help catering chefs build a more efficient workflow?
Running a catering business through scattered WhatsApp threads and spreadsheets works until it doesn't. One missed inquiry, one unbilled event, one lost client record, and the cost shows up fast. Stovoo was built specifically for food creators, meal preppers, and catering chefs who want to replace that chaos with a system that actually scales.
The platform gives catering chefs a centralized dashboard to manage bookings, client records, billing, and digital products in one place. Automated billing removes the awkward follow-up on unpaid invoices. A mobile-first shopfront lets clients browse your catering packages, place orders, and pay without a single DM exchange. You own your customer data, which means you're building a real business asset rather than renting attention on someone else's platform.
For catering chefs managing recurring clients, Stovoo's subscription and booking tools support the kind of steady revenue that makes growth predictable. Operational playbooks and standardized workflows become far easier to maintain when your inquiry, booking, and billing processes all live in one system. Explore how food creators are already using Stovoo to manage catering bookings and build consistent client pipelines.
Benefits catering chefs see when they adopt a platform like Stovoo:
- Fewer communication errors from centralized client and order records
- Faster booking confirmation with automated responses and payment collection
- Recurring revenue from meal subscription plans alongside one-off catering events
- Professional shopfront that works across Instagram, WhatsApp, and direct links
- Time saved on admin that goes back into food quality and client relationships
Ready to run your catering business like a pro? Start selling on Stovoo and replace the spreadsheet chaos with a system built for food creators.
Key Takeaways
A repeatable catering workflow, built around standardized timelines and documented food safety checks, is the single most reliable way to grow a catering business without losing quality as volume increases.
| Point | Details |
|---|---|
| Speed wins inquiries | 78% of catering leads book with the first responder, so automate your initial reply. |
| Buffer your headcount | Add a small buffer to every final guest count to avoid running short on food. |
| Start planning six weeks out | Lock venue, vendors, and contracts using a timeline that begins at T-6 weeks. |
| Document food temperatures | Probe hot and cold items every 30 minutes and file logs as your compliance record. |
| Follow up within 24 hours | Send a personalized thank-you email with photos and a feedback request after every event. |
FAQ
What is the first step in the catering process?
The first step is a structured client inquiry that captures event date, guest count, venue, dietary needs, and budget range. A standardized intake form keeps this consistent across every booking.
How far in advance should you start planning a catered event?
Start the planning timeline at least six weeks before the event, locking the venue and sending vendor briefs at T-6 weeks and finalizing headcount and the run-of-show by T-1 week.
What food safety temperatures do caterers need to maintain?
Hot-held foods must stay at or above 135°F and cold items at or below 41°F throughout transport and service. Probe and record temperatures at least every 30 minutes during the event.
How do you handle last-minute headcount changes?
Build a 5–10% buffer into your headcount estimate from the start, and lock the final count at T-72 hours. Pre-arrange a contingency vendor so you can add capacity quickly if needed.
When should you send a post-event follow-up to clients?
Send a personalized thank-you email within 24 hours of the event, referencing specific highlights and including a simple feedback request to strengthen the relationship and gather useful insights.