
The fastest, lowest-risk way to get a food prototype made is to build a bench-scale weighed recipe, run a short sensory panel, then validate with one pilot run. If you're short on time or equipment, a shared test kitchen or R&D service can run that same sequence for you. FDA and FSMA requirements apply from the moment you plan to sell, so build compliance into the process from day one, not as an afterthought. Stovoo can help you market-test validated meals and recipes directly with paying customers once your prototype is ready.
Quick picks by goal:
- Speed: Book a shared test kitchen or R&D service with existing equipment and QA protocols.
- Low cost: DIY bench testing in your own kitchen using weighed recipes and a structured sensory screen.
- Regulatory fidelity: Hire a food consultant or PCQI alongside a co-packer with documented batch records.
- Scale-readiness: Partner with a pilot co-packer who can run bench-to-pilot sequences and provide shelf-life data.
Pro Tip: Document every trial before you taste anything. Weights, lot codes, time, and temperature logged in a versioned recipe file will save you weeks of rework when you scale up.
Key Takeaways
A locked, documented production spec is the single most important output of the prototyping process: without it, reproducibility and scale-up are guesswork.
| Point | Details |
|---|---|
| Start with weighed recipes | Convert every ingredient to grams before your first bench trial to enable reproducibility. |
| Use gate-based sensory testing | A 25–30 person hedonic screen at bench stage; a 50-person JAR panel before formula lock. |
| Clear safety and labeling early | FSMA, FALCPA allergen declarations, and Nutrition Facts panels are required before retail sale. |
| Budget realistically | Pilot runs typically cost $500–$5,000+; accredited lab testing adds $200–$800 per sample set. |
| Stovoo for market testing | After prototype validation, Stovoo lets you sell meal plans and recipes directly to customers. |
Table of Contents
- How to get a food prototype made: your fastest starting options
- A step-by-step workflow from idea to validated prototype
- Bench-scale prototyping: how to build a reproducible formula fast
- How to run taste tests that actually drive product decisions
- U.S. food-safety, shelf-life, and labeling essentials
- How to pick the right kitchen, co-packer, or consultant
- Ballpark costs and realistic timelines
- Turning your recipe into a production-ready specification
- Your 90-day action plan after prototype validation
- Why disciplined prototyping is the real shortcut
- Ready to pilot your validated product with real customers?
- Sources
- FAQ
How to get a food prototype made: your fastest starting options
Your choice of starting route depends on budget, timeline, and how close you are to a commercial launch. Here are the five most practical paths:
- DIY bench test: Your own kitchen, a gram-accurate scale, and a structured recipe file. Lowest cost, slowest to reach regulatory readiness.
- Shared test kitchen rental: Hourly or daily rates at a licensed commercial kitchen. Gives you legal production space and often basic equipment.
- R&D or test-kitchen service: A specialist firm runs formulation trials for you. Faster iteration, higher cost, better documentation.
- Pilot co-packer: A small-batch manufacturer who can take a bench formula through a pilot run. Best when you need shelf-life data and production specs.
- Food consultant or PCQI: An independent expert who guides formulation, safety review, and label compliance. Often paired with one of the above.
A step-by-step workflow from idea to validated prototype
A structured workflow keeps you moving forward without expensive backtracking. Follow these stages in order:
- Define the target. Write down your cost-per-serving ceiling, allergen constraints, target nutrition profile, and prep-time limit before you cook anything.
- Build a bench-scale prototype. Convert your recipe to grams, run your first trial, and document everything.
- Run a sensory screen. Use a hedonic scale with at least 25–30 tasters to get a directional liking score.
- Refine and iterate. Adjust one variable at a time, re-score against your written constraints, and repeat. Scale-up research suggests expecting 10–50 bench iterations before formula lock.
- Shelf-life and safety check. Send samples to an accredited lab for microbiological and water-activity testing.
- Pilot run. Schedule a small-batch production run with a co-packer or in a licensed kitchen to validate yield and process.
- Lock the production spec. Finalize ingredient weights, tolerances, process steps, and finished-product metrics.
Go/no-go gates: Move from bench to sensory only when your cost-per-serving hits target. Move from sensory to safety testing only when your hedonic mean score reaches a sufficiently positive level on a 9-point scale. Move from pilot to launch only when yield matches spec within an acceptable tolerance and lab results clear.
Bench-scale prototyping: how to build a reproducible formula fast
Bench-scale work is where most of the real product development happens, and systematic bench trials consistently outperform intuitive guesswork for identifying the right ingredient and process variables. Start with a gram-accurate scale (0.1g resolution), an immersion blender or stand mixer, a calibrated thermometer, and pH strips if your product is acidic or fermented. A refractometer helps with sugar-heavy formulas.
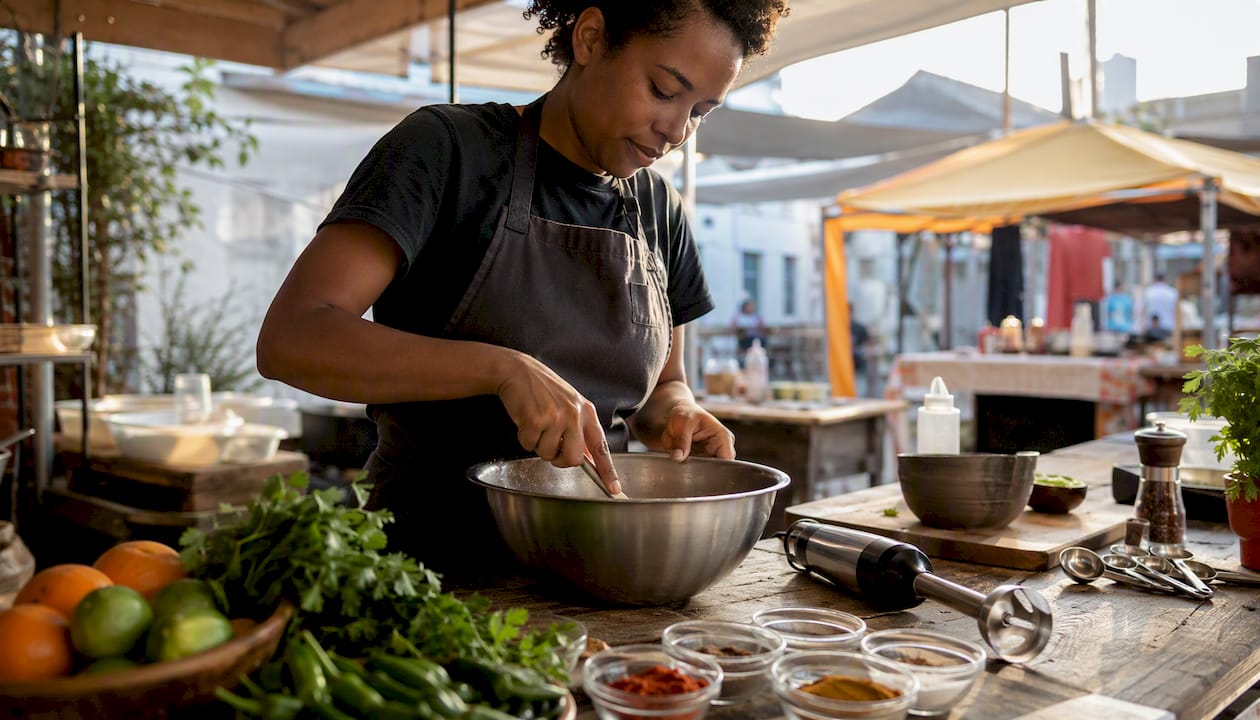
Document every trial in a versioned recipe file: ingredient name, supplier, lot code, weight in grams, process step, time, and temperature. A simple spreadsheet works fine at bench scale. Use a Design of Experiments (DoE) mindset, varying two or three variables at once in a structured grid rather than changing one ingredient per trial. This cuts the number of trials needed to find the optimal combination.
Pro Tip: Score each iteration against your written constraints (cost-per-serving, allergen limits, prep time, target protein) before you evaluate taste. An iteration that tastes great but breaks your cost ceiling is a dead end.
Keep a control sample from your best previous batch in every tasting session. It gives you a reference point and catches drift between sessions.
How to run taste tests that actually drive product decisions
Sensory methods map directly to specific decisions, so picking the wrong method wastes time and money.
At early bench stages, a 25–30 person hedonic screen gives you a directional signal without burning budget. Move to a 50-person JAR panel once you have a leading formula. Presenting samples in realistic context (a sauce served with its intended dish, a meal kit assembled as intended) produces more accurate feedback than isolated tasting. A stage-gate testing program uses different methods at each gate to reduce launch risk and allocate resources where they matter most.
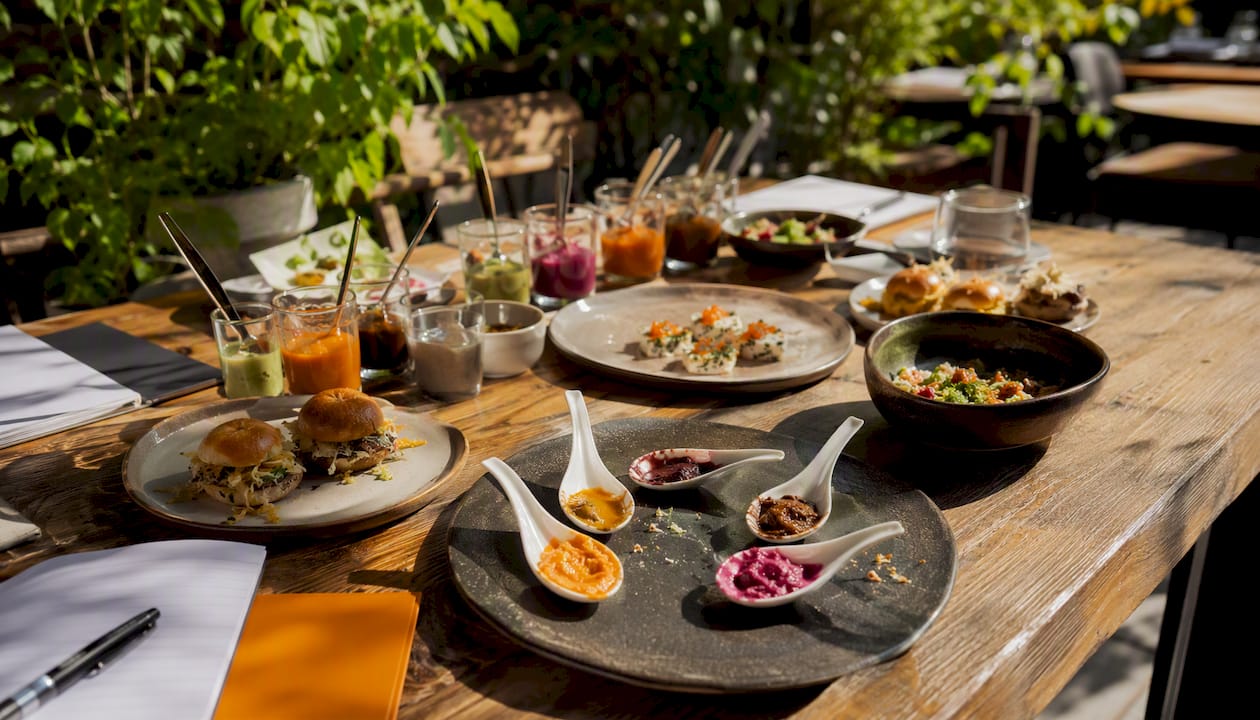
Recruitment checklist: screen for relevant demographics, usage frequency, and allergen status. Ask purchase-intent questions alongside liking scores. Include at least one open-ended improvement prompt per session.
U.S. food-safety, shelf-life, and labeling essentials
Every prototype headed for commercial sale needs to clear these checkpoints before a pilot run:
- FSMA awareness: If you manufacture, process, pack, or hold food for U.S. sale, the FDA's Food Safety Modernization Act applies. Review the Preventive Controls for Human Food rule.
- Nutrition Facts panel: Required for most packaged foods under FDA 21 CFR Part 101. Use an accredited nutrition analysis lab or FDA-recognized database software.
- FALCPA allergen declarations: The nine major allergens (milk, eggs, fish, shellfish, tree nuts, peanuts, wheat, soybeans, sesame) must be declared on the label.
- Net quantity and statement of identity: Required on every retail package.
- Shelf-life testing: Send samples to an accredited lab for aerobic plate count, yeast/mold, and pathogen screening. Measure water activity (target below 0.85 for most shelf-stable products) and pH. Accelerated shelf-life testing compresses timelines but real-time testing is the gold standard before retail launch.
- Packaging: Your packaging material affects moisture vapor transmission, oxygen barrier, and light exposure, all of which affect shelf life and label claims.
Consult a PCQI (Preventive Controls Qualified Individual) before your pilot run. The FDA's FSMA resources are the authoritative starting point for compliance questions.
How to pick the right kitchen, co-packer, or consultant
Choosing the wrong partner at this stage is one of the most common and costly mistakes in the food business scalability journey. Ask every candidate these questions before signing anything:
- What is your minimum batch size for a pilot run?
- Can you provide documented batch records and version-controlled specs?
- How do you handle allergen cross-contact between runs?
- What are your lead times for scheduling a pilot slot?
- Can you share references from clients at a similar scale?
- What lab testing do you perform in-house versus outsource?
Red flags: no documented batch records, vague or all-inclusive pricing with no itemization, inability to show allergen-control procedures, and no client references at your production scale.
A consultant or PCQI is the right call when you need safety sign-off but aren't ready for a co-packer's minimum run. A co-packer is the right call when you have a locked formula and need shelf-life data and production-scale yield numbers.
Ballpark costs and realistic timelines
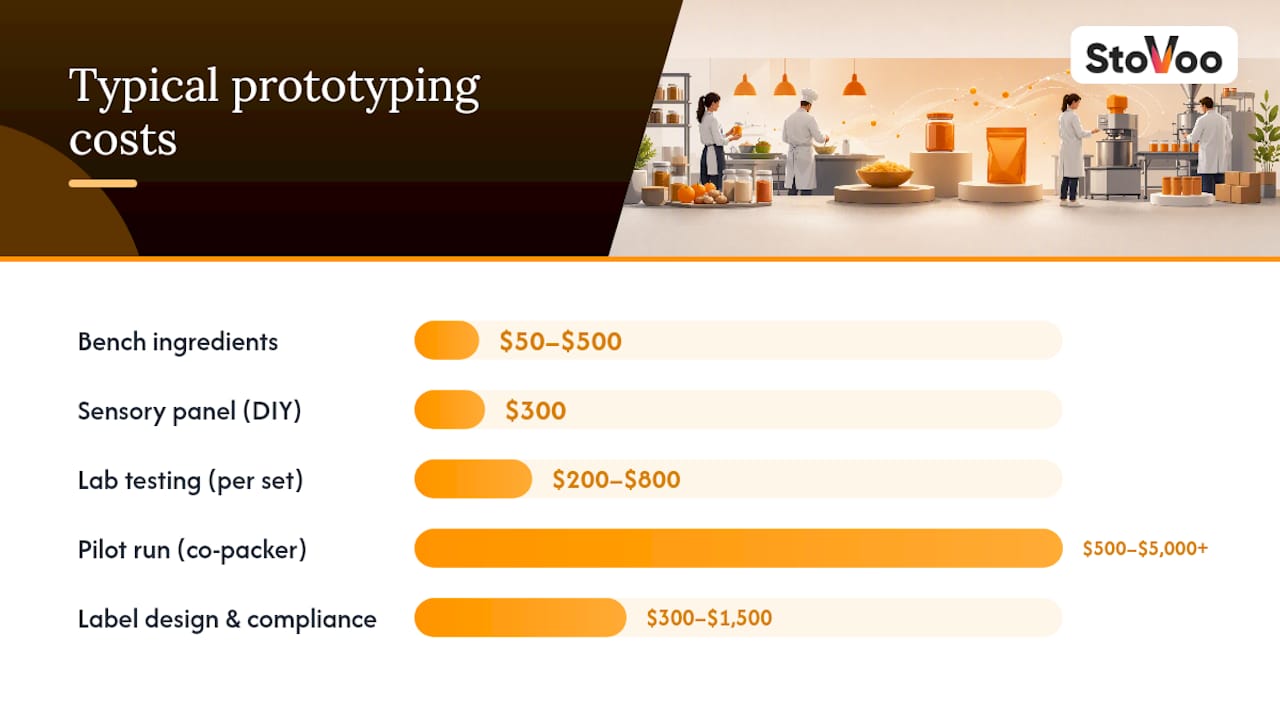
| Stage | Typical Cost Range | Typical Timeline |
|---|---|---|
| Bench ingredients and equipment | $50–$500 | 1–4 weeks |
| Shared test kitchen rental | $50/hour | Ongoing during iteration |
| Sensory panel (DIY) | $300 | 1–2 weeks per round |
| Accredited lab testing | $200–$800 per sample set | 2–6 weeks |
| Pilot run (co-packer) | $500–$5,000+ | 4–12 weeks lead time |
| Label design and compliance | $300–$1,500 | 2–4 weeks |
Custom ingredients, complex thermal processes, and refrigerated logistics all push costs higher. One practical way to save at early gates: use AI-moderated online interviews instead of full in-home-use panels for concept screening. Save the higher-cost methods for formula lock and pre-launch validation. Ingredient sourcing trends also affect prototype costs, particularly for specialty or sustainably sourced items.
Turning your recipe into a production-ready specification
A production spec is what separates a recipe that works in your kitchen from one a co-packer can reproduce reliably. Every spec needs these fields:
- Ingredient list with supplier name, lot code, and weight in grams (not cups or tablespoons)
- Process steps in sequence: mix order, speed setting, time, and temperature at each step
- Tolerance ranges for critical parameters (e.g., internal temperature ±2°F, pH 4.0–4.2)
- Target yield in grams and finished-product metrics (water activity, pH, pack weight)
- Yield loss percentage at each processing step
Pro Tip: Capture non-obvious process variables: the speed setting on your mixer, the exact chill curve from 165°F to 40°F, and any rest time between steps. These are the variables that most often break scale-up.
Use date-coded spec numbers (e.g., SAUCE-001-20260315) and maintain a change log noting what changed, why, and who approved it.
Your 90-day action plan after prototype validation
Once your prototype clears sensory and safety gates, move fast and deliberately:
- Weeks 1–2: Finalize the production spec and lock packaging and label copy.
- Weeks 3–4: Submit label for FALCPA and Nutrition Facts compliance review.
- Weeks 5–8: Schedule and run the pilot batch. Collect yield data and retain samples for real-time shelf-life testing.
- Weeks 9–10: Run a controlled soft launch or pre-sale with a small customer group. Track repurchase intent, yield vs. spec, cost-per-unit, and any complaints.
- Weeks 11–12: Collect structured post-launch feedback. Set a cadence for quarterly formula reviews.
Metrics to watch: repurchase rate, cost-per-unit vs. target, yield consistency across batches, and shelf-life performance against your lab projections. Meal-prep operations guidance can help you tighten the operational side as volume grows.
Why disciplined prototyping is the real shortcut
Most small food businesses treat prototyping as the fun part before the real work starts. That framing is backwards. The documentation, gate-based testing, and constraint scoring described in this article are not bureaucratic overhead. They are the mechanism that prevents a $3,000 pilot run from producing a product you can't sell, a label that triggers an FDA warning letter, or a formula that tastes different every batch.
The goal is not a perfect product on the first pilot run. The goal is a clearly defined, reproducible formula that clears each gate with documented evidence. Modest, well-defined gates get you to a launchable product faster than chasing perfection through endless tastings. Once your formula is locked and your spec is written, the path to recurring revenue gets much shorter. Stovoo's platform is built for exactly that moment: when you're ready to take a validated meal or recipe to paying customers without the chaos of managing orders through spreadsheets and messaging apps.
Ready to pilot your validated product with real customers?
Once your prototype clears its final gate, the next challenge is getting it in front of paying customers without rebuilding your entire operation from scratch. Stovoo gives food creators a mobile-first shopfront where you can list validated meal plans, sell digital recipes, or accept recurring orders from day one.
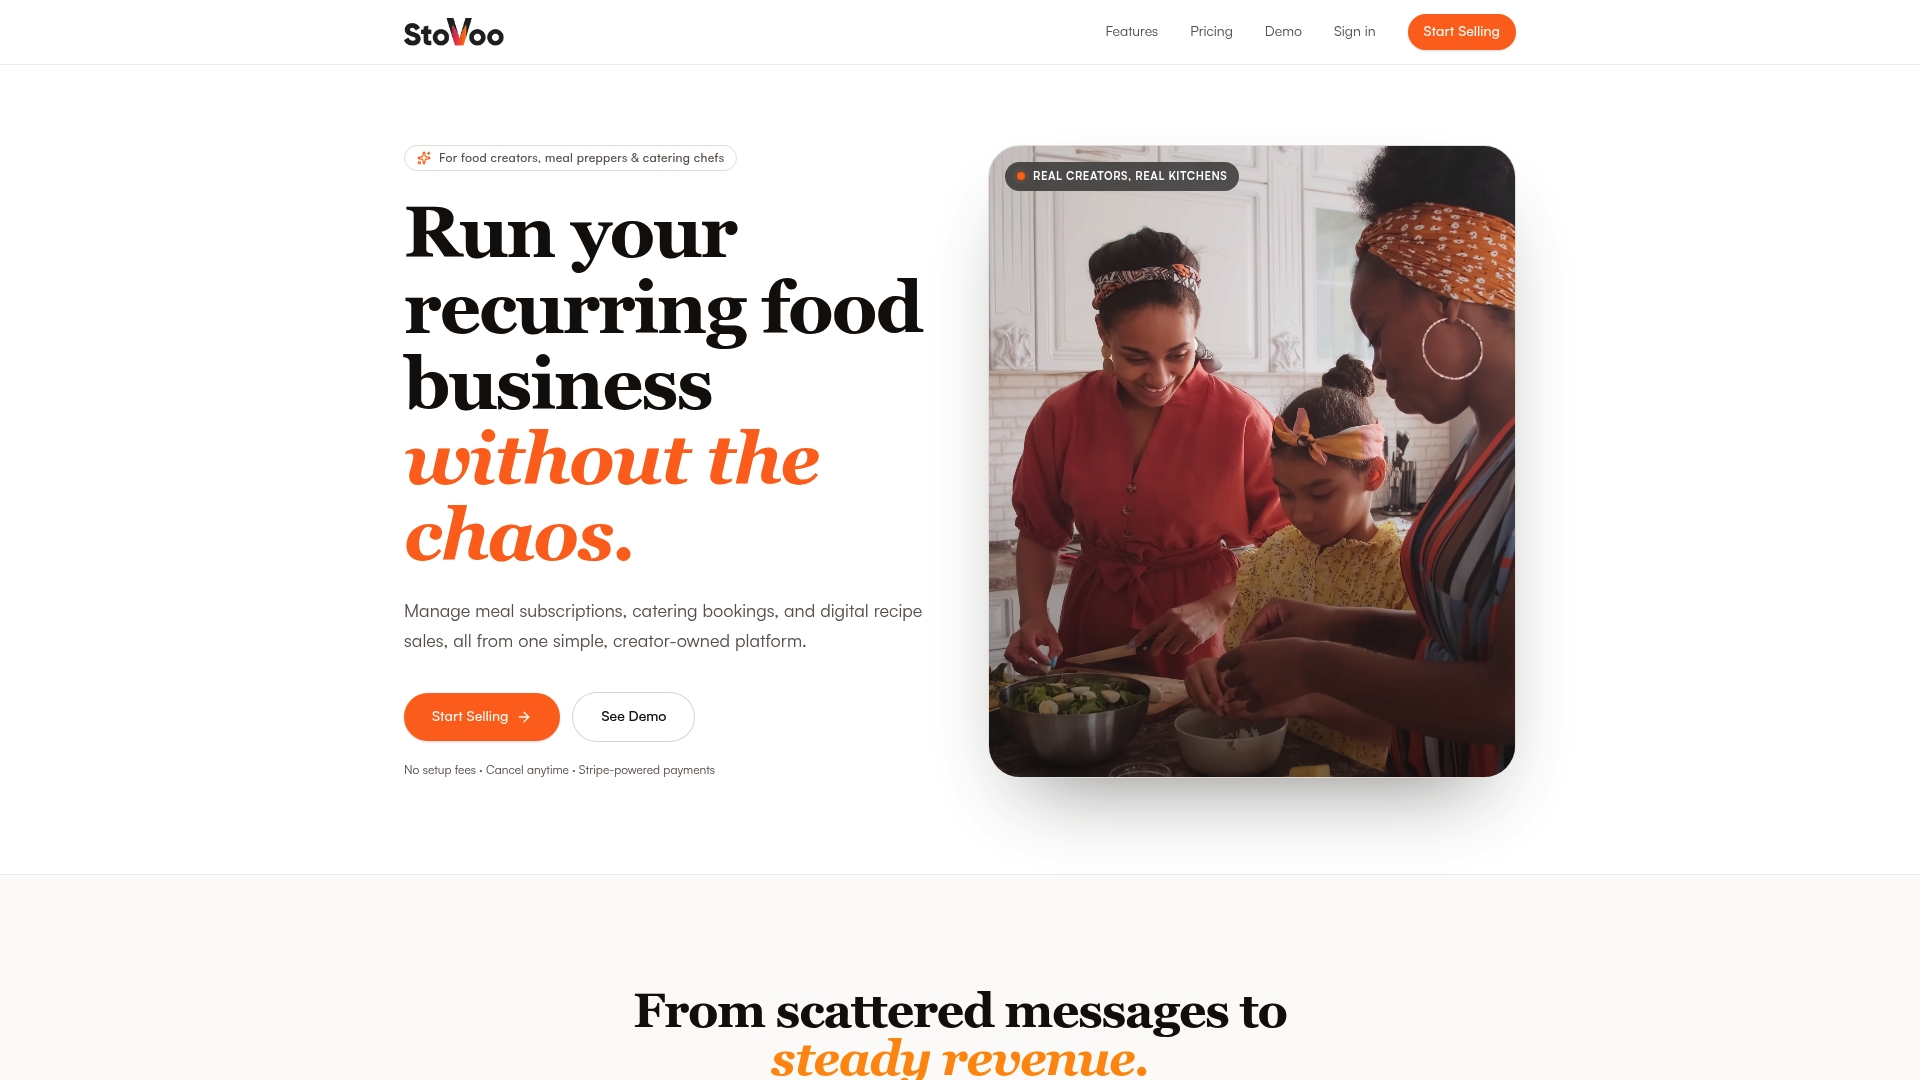
No spreadsheets, no WhatsApp order threads. Stovoo's automated billing and customer management tools handle the admin so you can focus on refining your product. Creators who are ready to test market demand can set up a Stovoo listing in minutes and start collecting orders before their pilot run is even finished. Visit Stovoo to see how food entrepreneurs are turning validated recipes into steady income streams.
Sources
- Food Product Development Process: Concept To Commercialization
- Food Product Development: From Recipe to FDA-Compliant Label and Shelf-Life Study
- Effective taste testing research guide
- MealTalk Taste Test Slides/Handout
- Testing new flavor/product variant with consumers (reference guide)
This article is general information, not a substitute for advice from a qualified lawyer. Consult a qualified legal professional about your own circumstances before acting on anything here.
FAQ
How many bench trials does a food prototype typically need?
Scale-up research suggests expecting 10–50 bench iterations before formula lock, depending on product complexity. Using a Design of Experiments approach rather than one-variable-at-a-time testing cuts that number significantly.
What does it cost to get a food prototype made professionally?
Costs range from $50–$500 for DIY bench ingredients and equipment up to $5,000 or more for a co-packer pilot run. Accredited lab testing adds $200–$800 per sample set, and label compliance review typically runs $300–$1,500.
Do I need FDA approval before selling a prototype product?
The FDA does not pre-approve most food products, but FSMA Preventive Controls rules, FALCPA allergen declarations, and Nutrition Facts labeling requirements apply before retail sale. Consult a PCQI for your specific product category.
What sensory test should I use first?
A hedonic (9-point) scale with 25–30 tasters is the right starting point for early bench prototypes. It gives you a directional liking score at low cost before you invest in more detailed JAR or CATA panels.
Can Stovoo help me sell a prototype meal plan before full commercial launch?
Yes. Stovoo lets food creators list meal plans, digital recipes, and recurring orders through a mobile-first shopfront, making it practical to run a soft-launch market test with real customers while your production spec is still being finalized.